Edited Pictures
Originals: Edits:
|
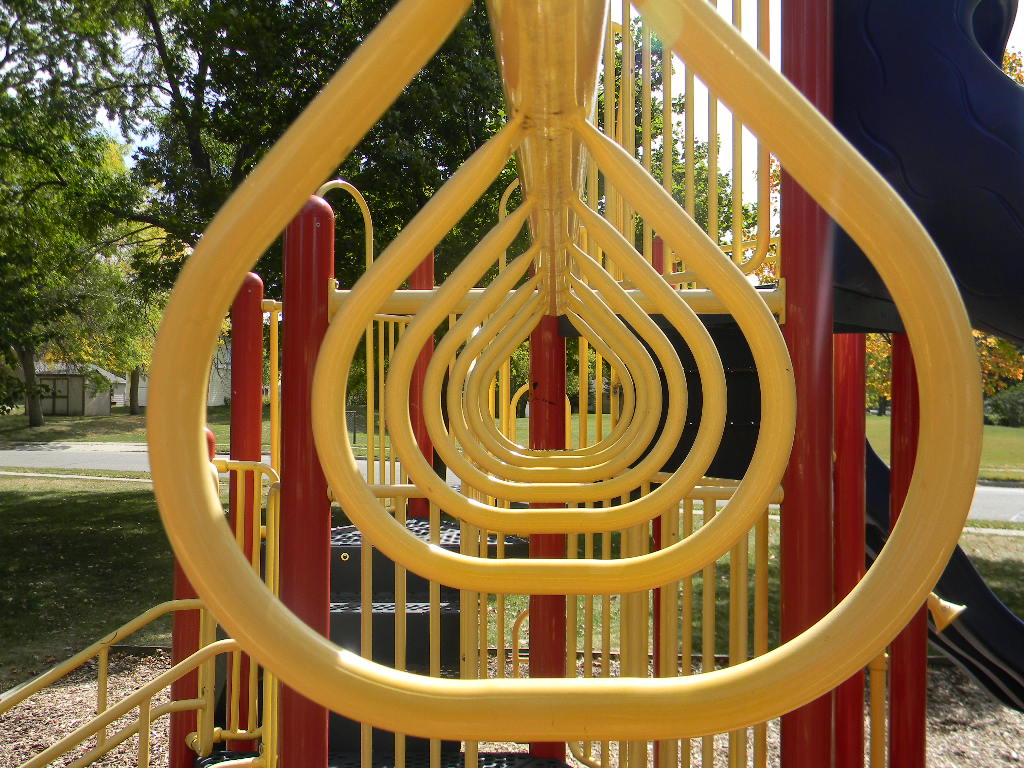
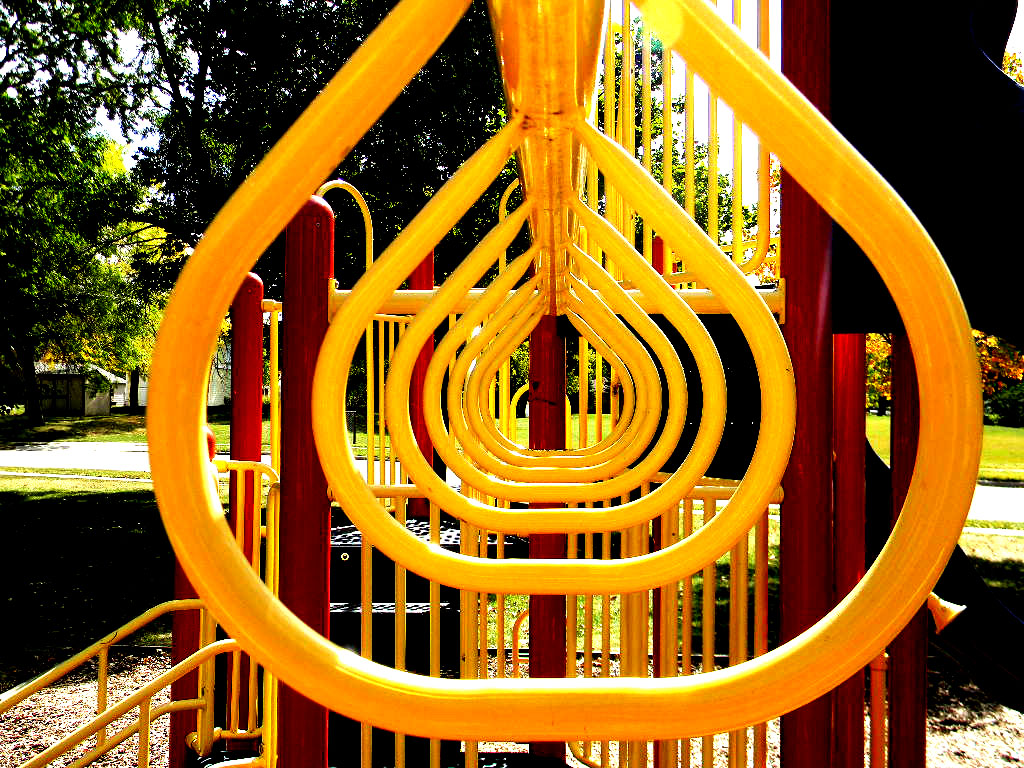
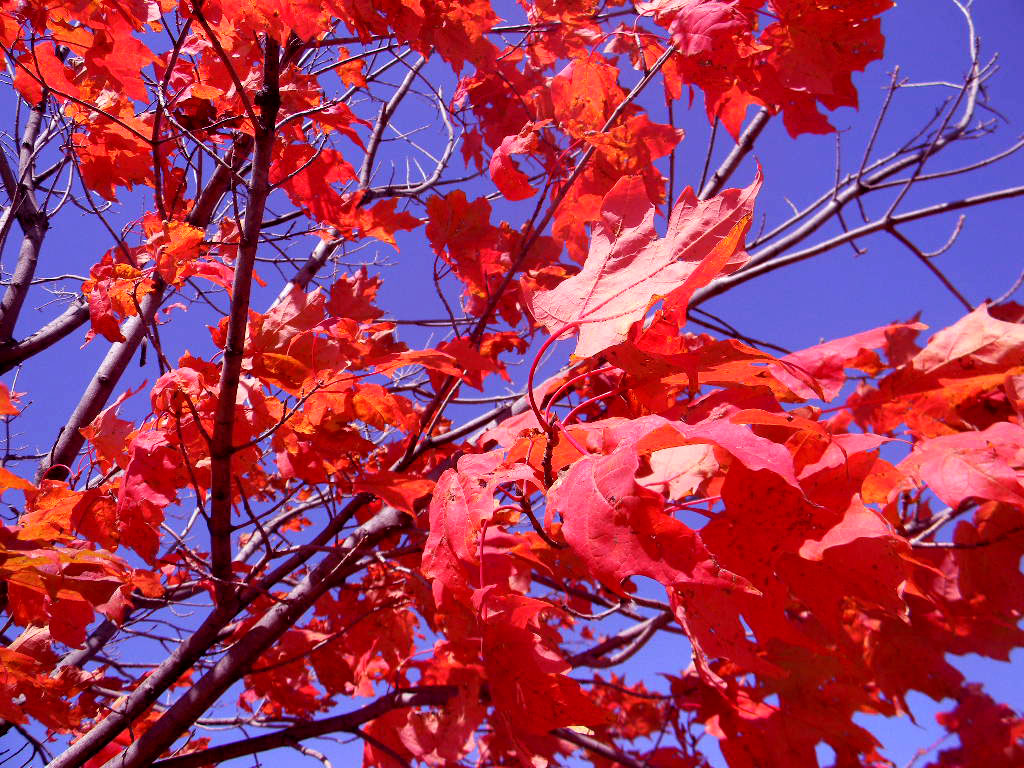
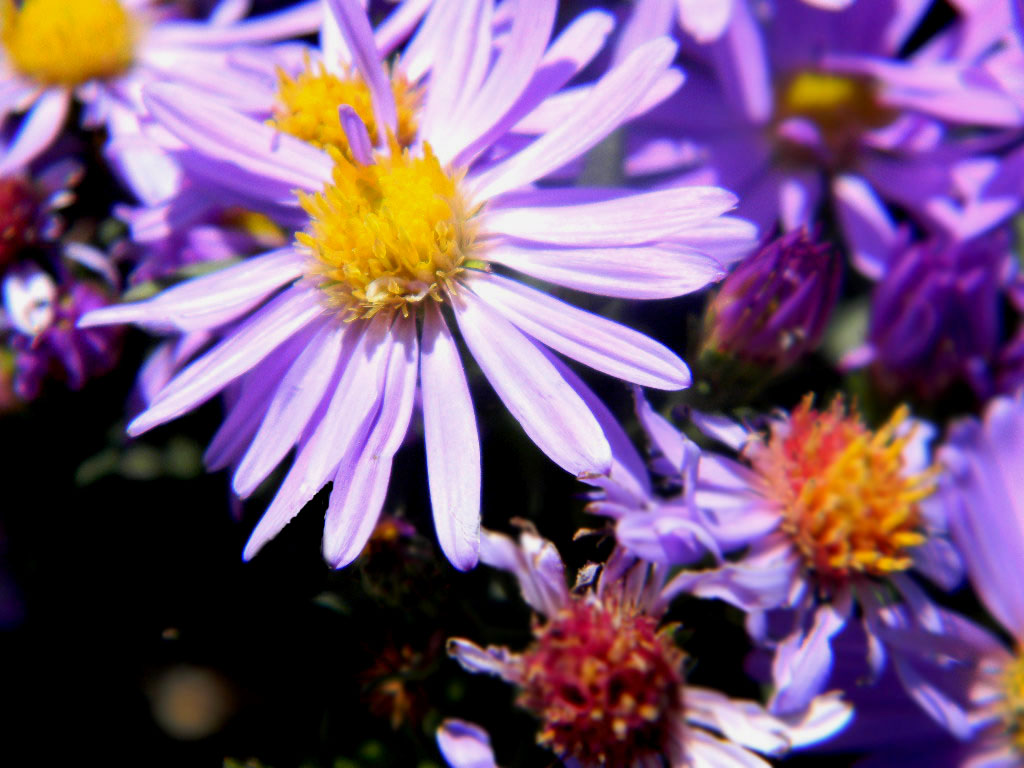
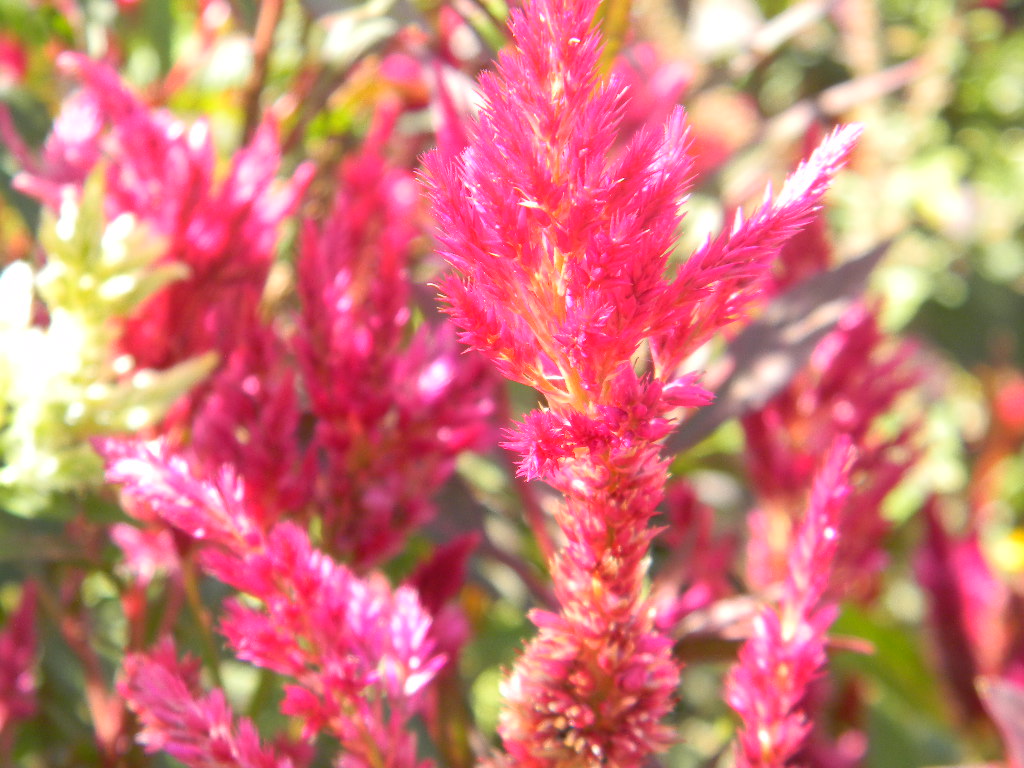
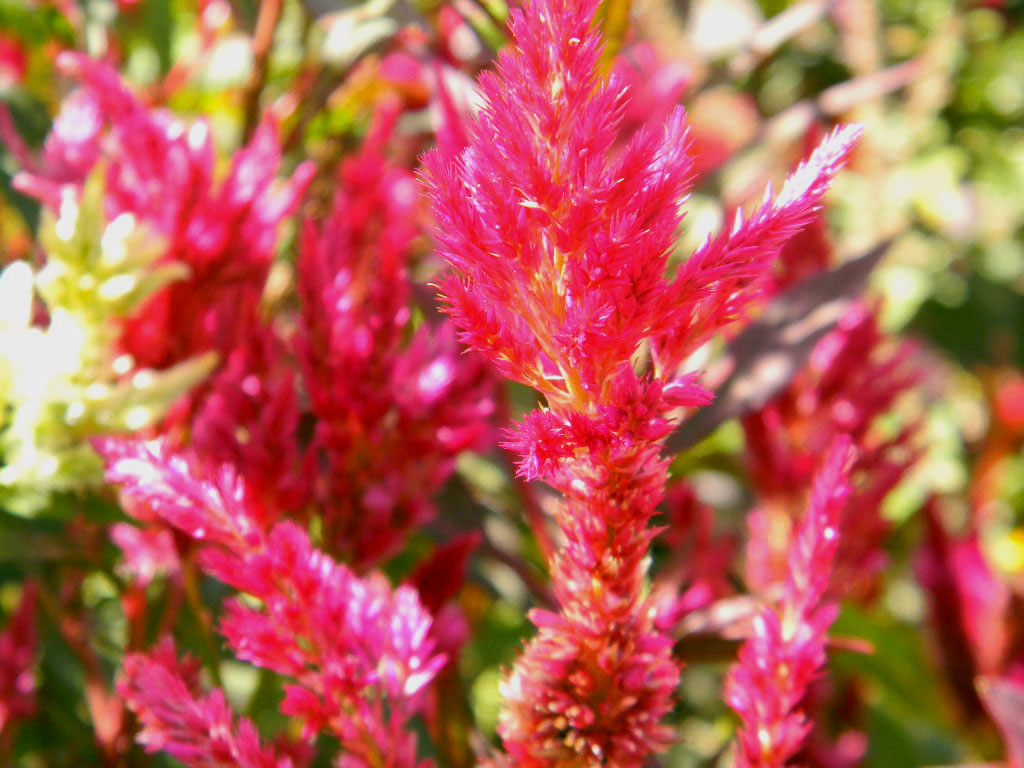
Few step:
I changed the contrast and the color balance by adding yellow. |
|

|
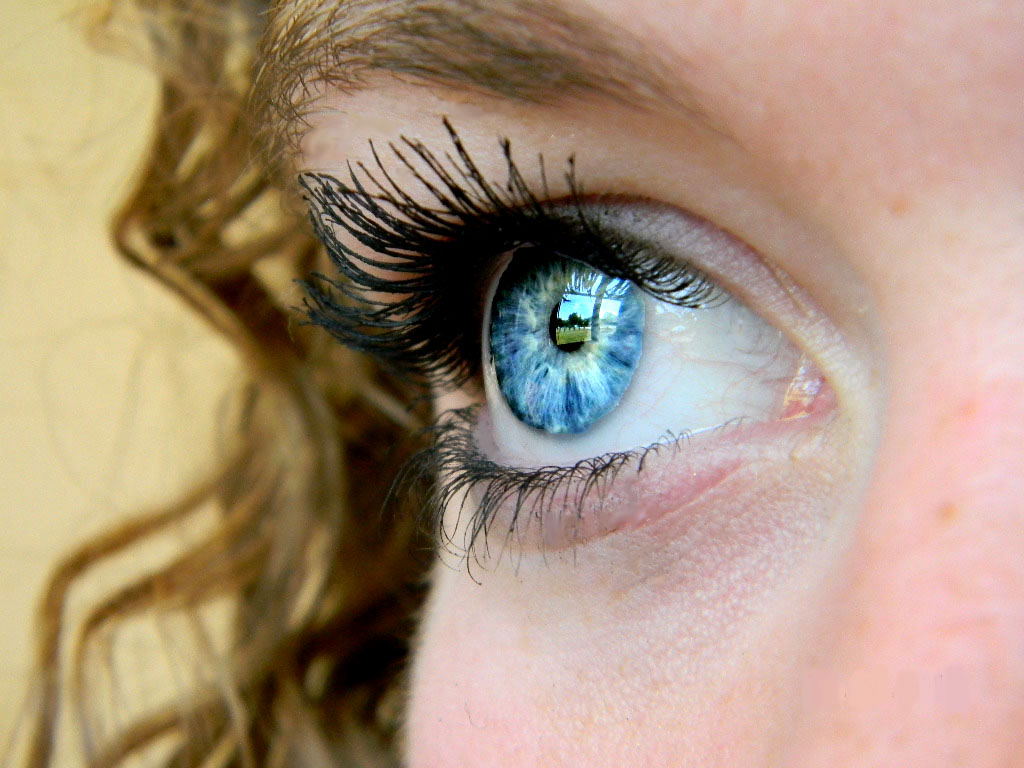
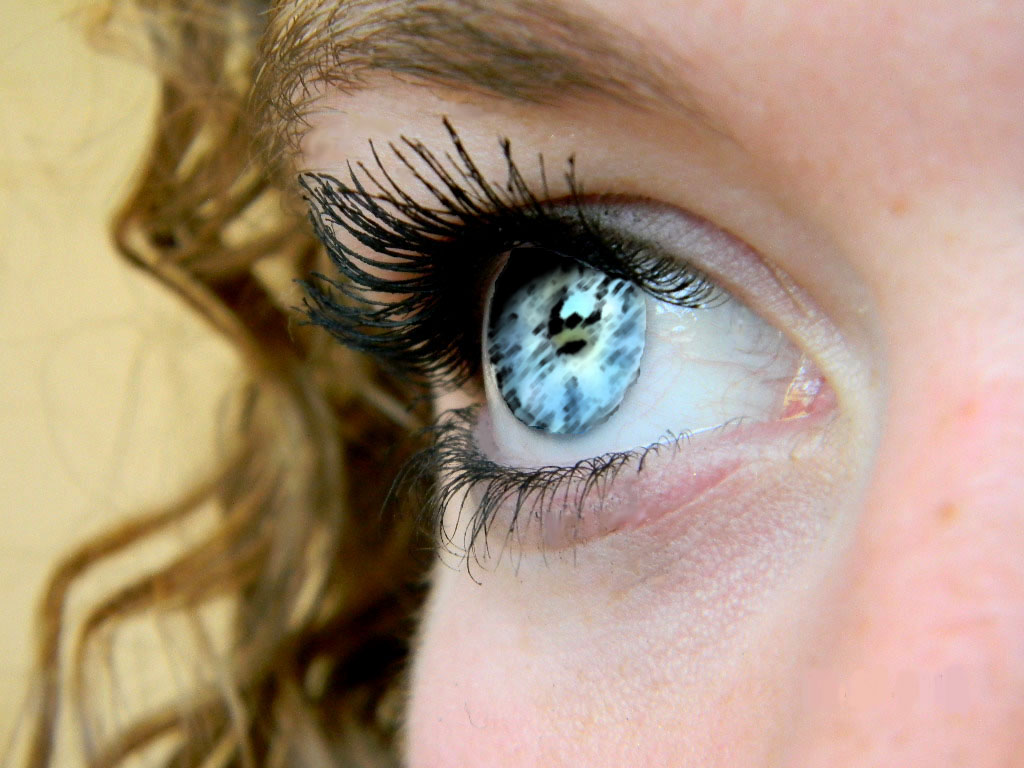
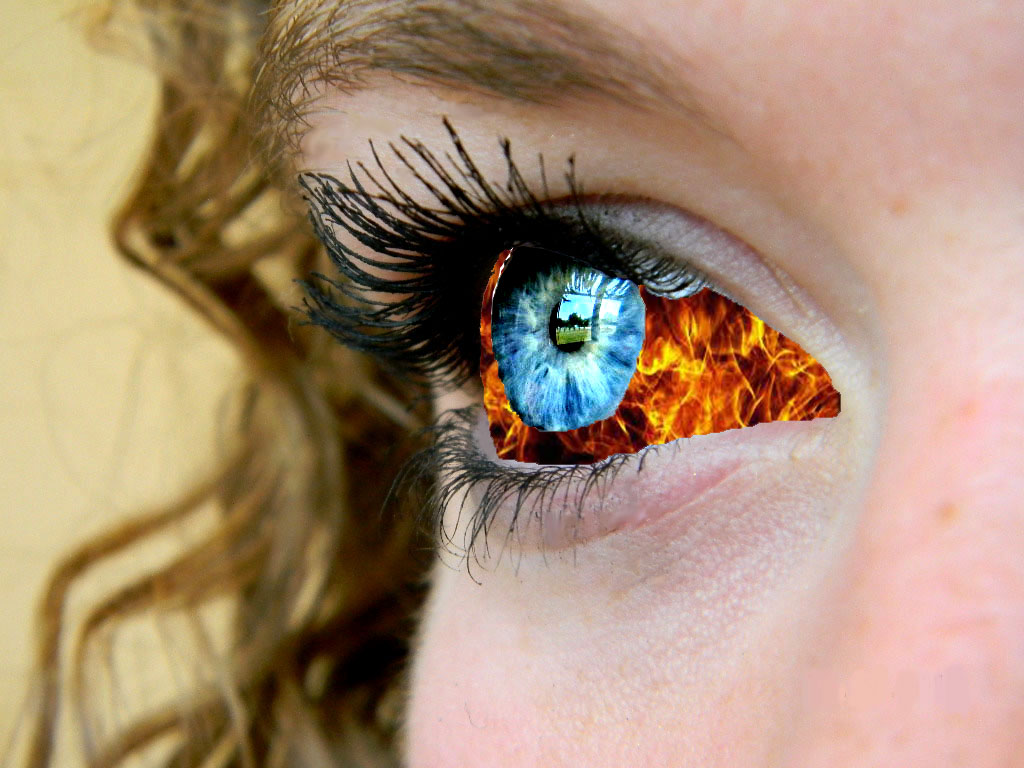
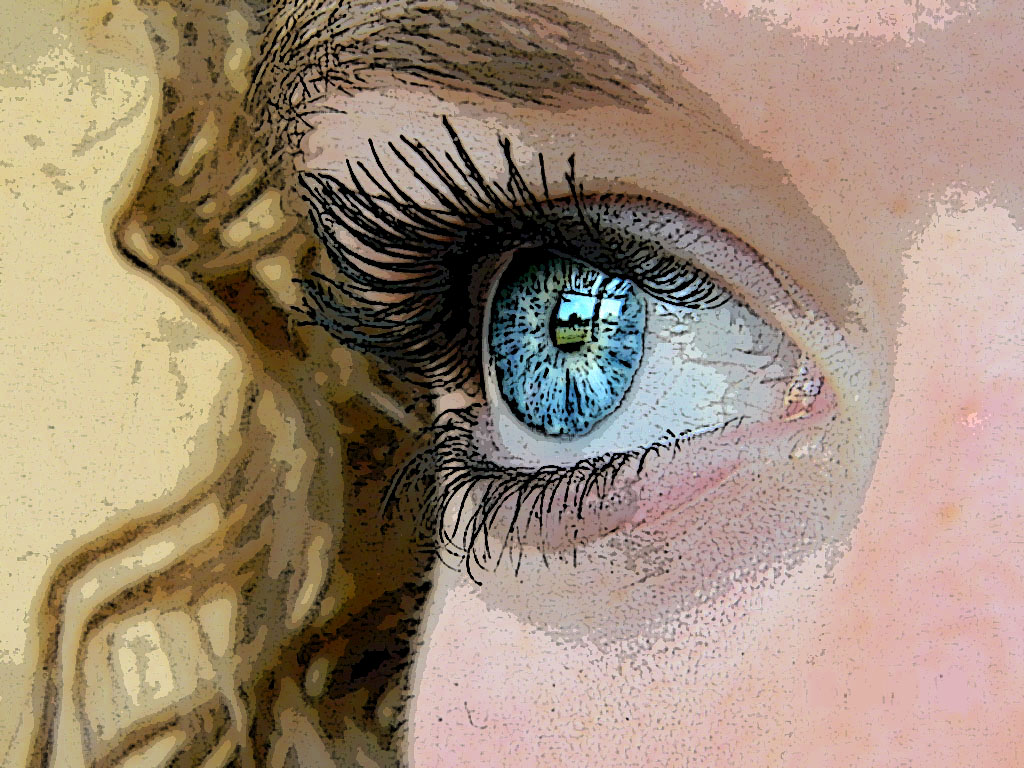
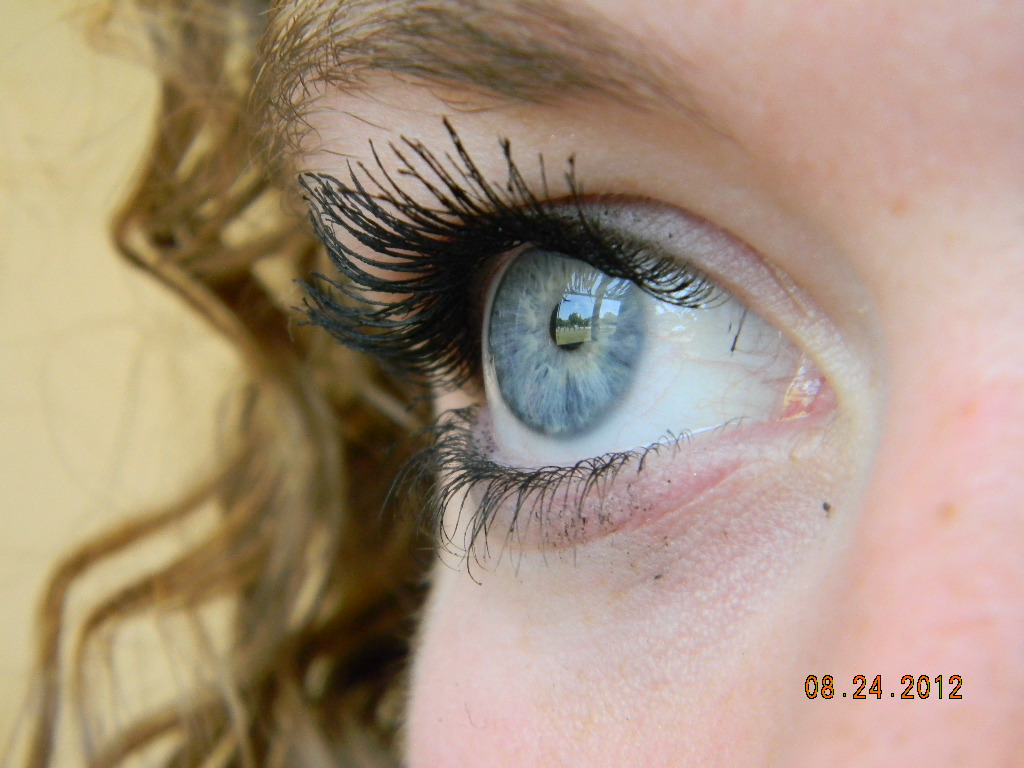
Multi-step:
In this picture I got rid of the makeup marks and the date. I shaped the eyebrows and changed the color balance in the iris by adding blue. I also changed the contrast in just the iris. |
|
|
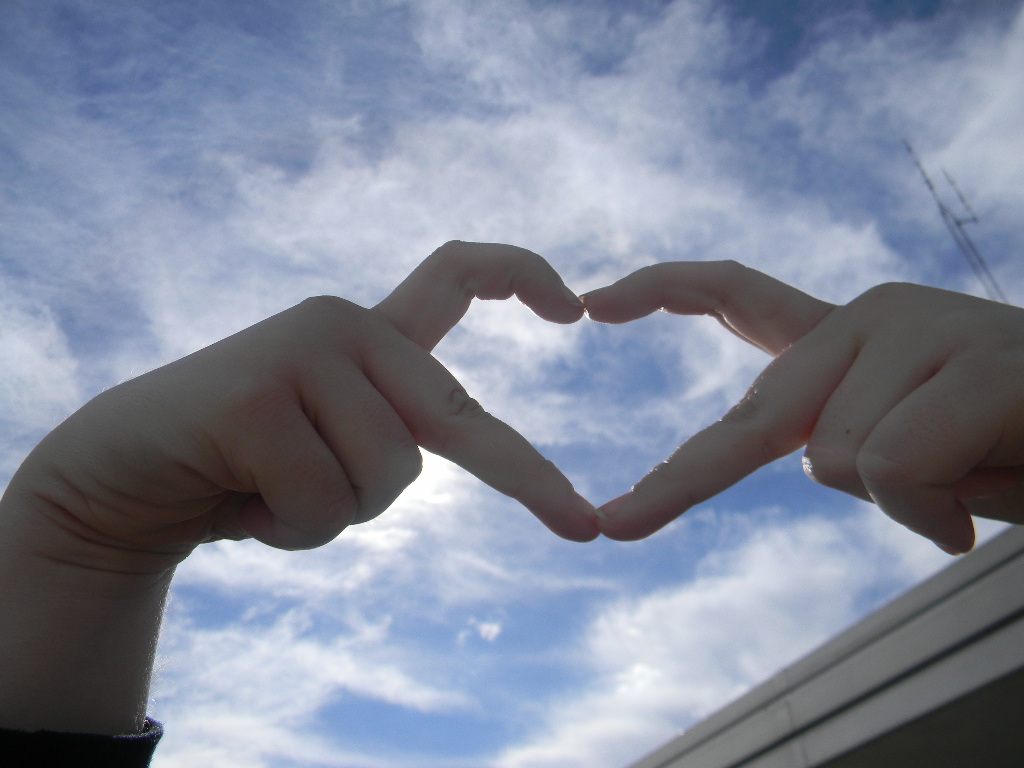
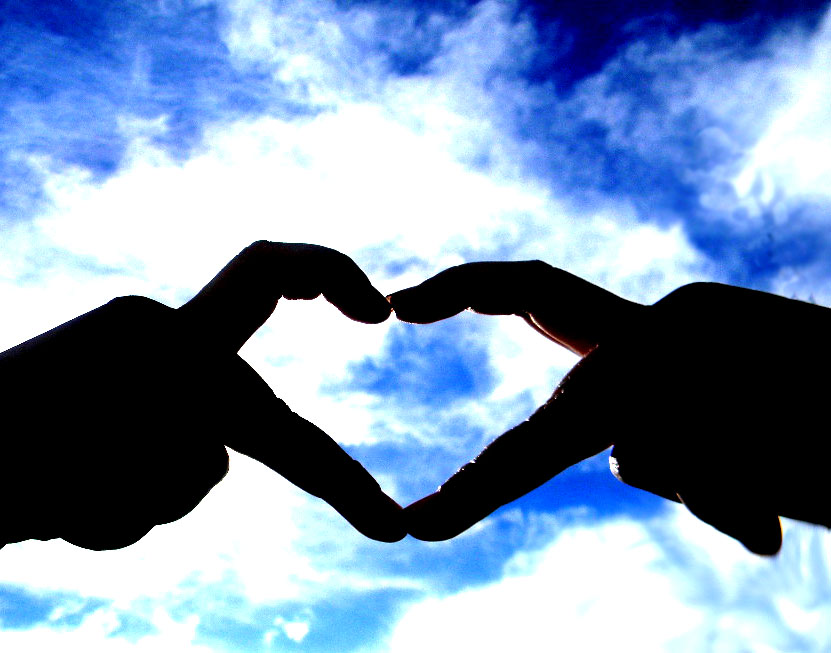
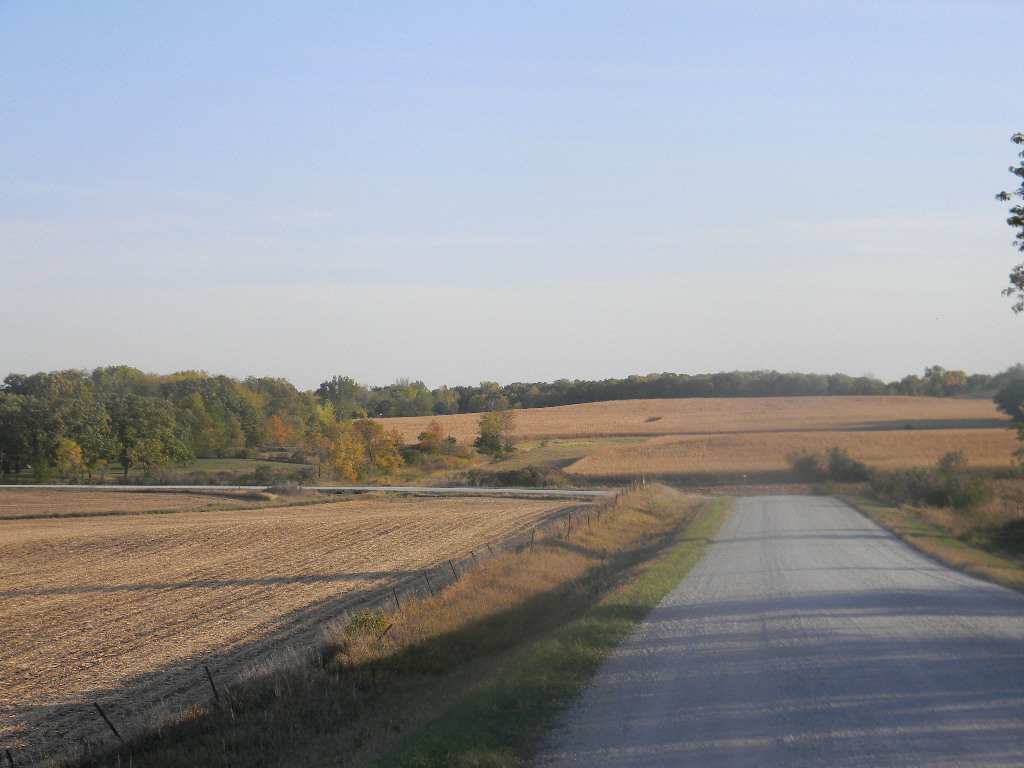
Multi-step:
In this picture I got rid of the building, the pole, and cropped some of the left side. I add more clouds and then changed the contrast. |
|
|
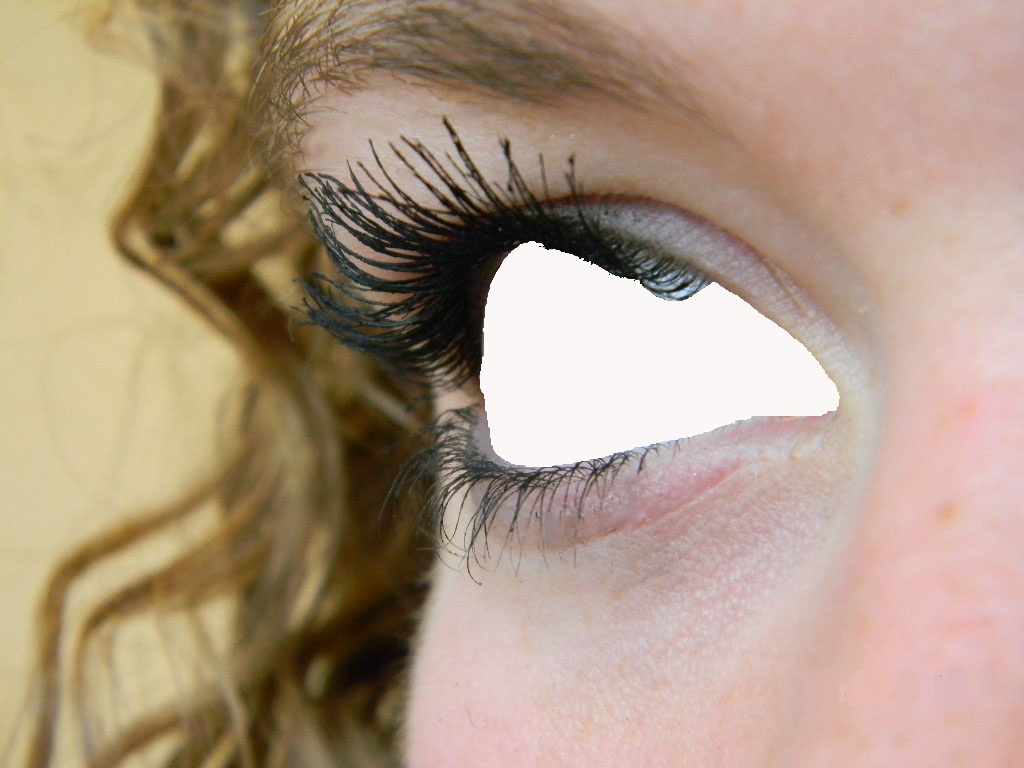
Multi- step:
In this picture I traced the outline of the eye and deleted the layer of the eye. I then imported a new layer to take its place. |
|
|
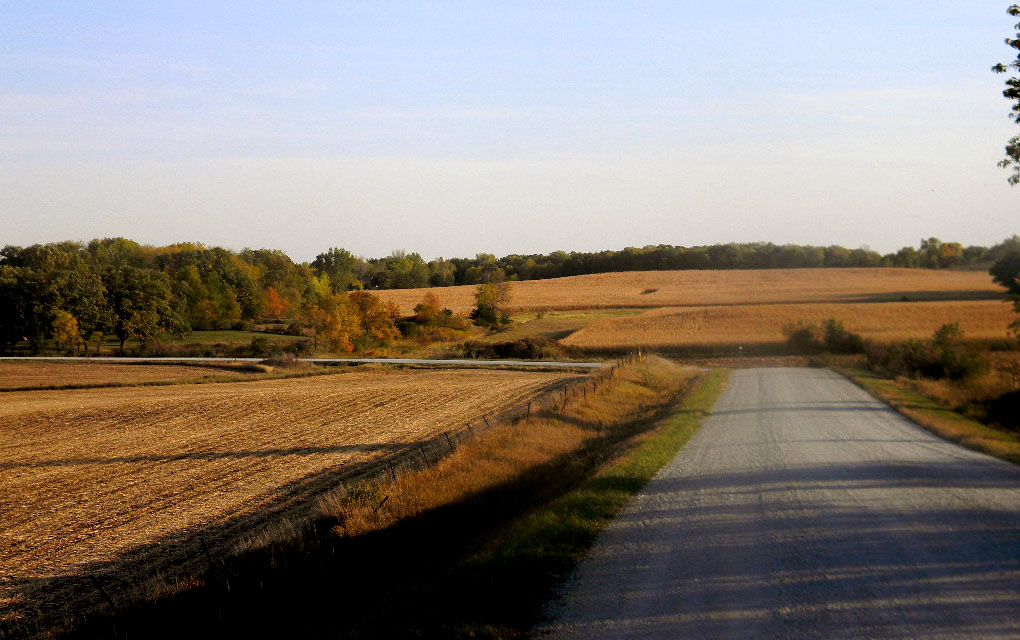
Few step:
In this picture I changed the contrast and the color balance by adding more magenta. |
|
|
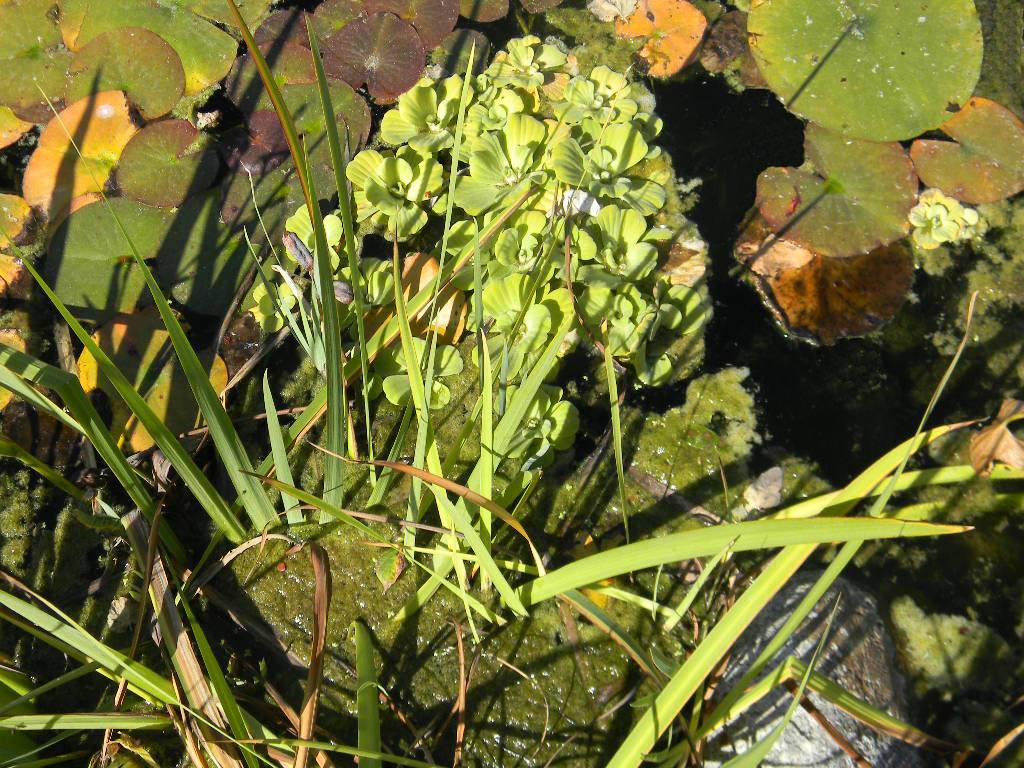
Few step:
In this picture I got rid of some of the moss marks on the water. |

|

|
Few step:
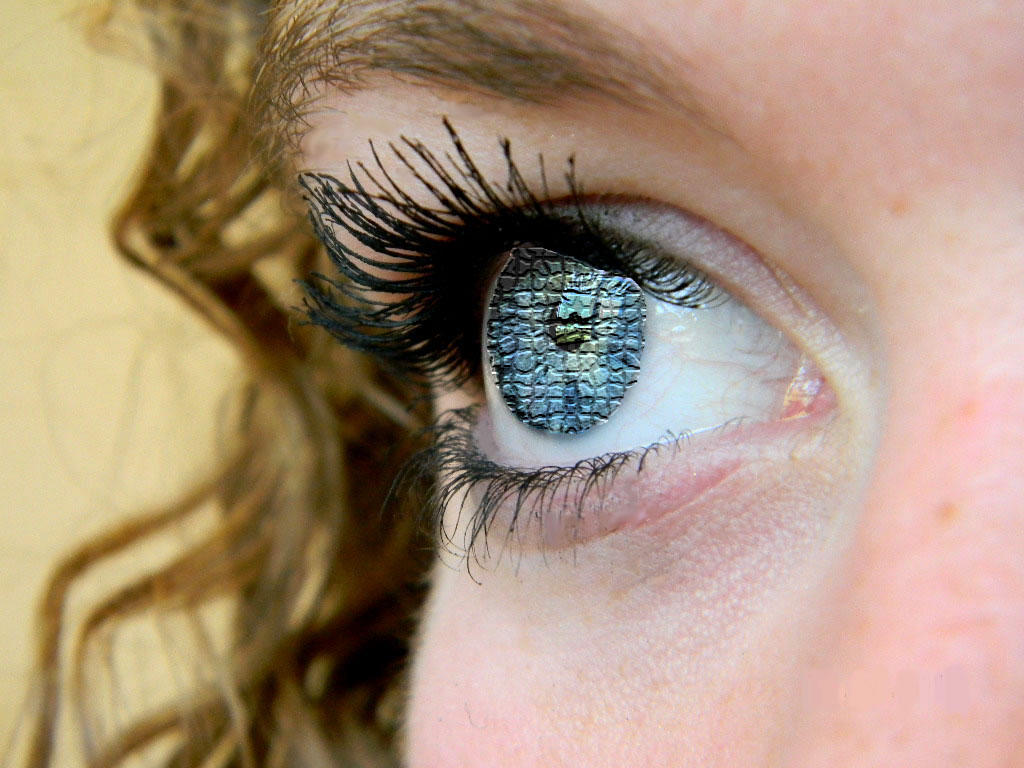
In this picture I highlighted the iris and used a filter on it that added streaks and texture. |
|
|
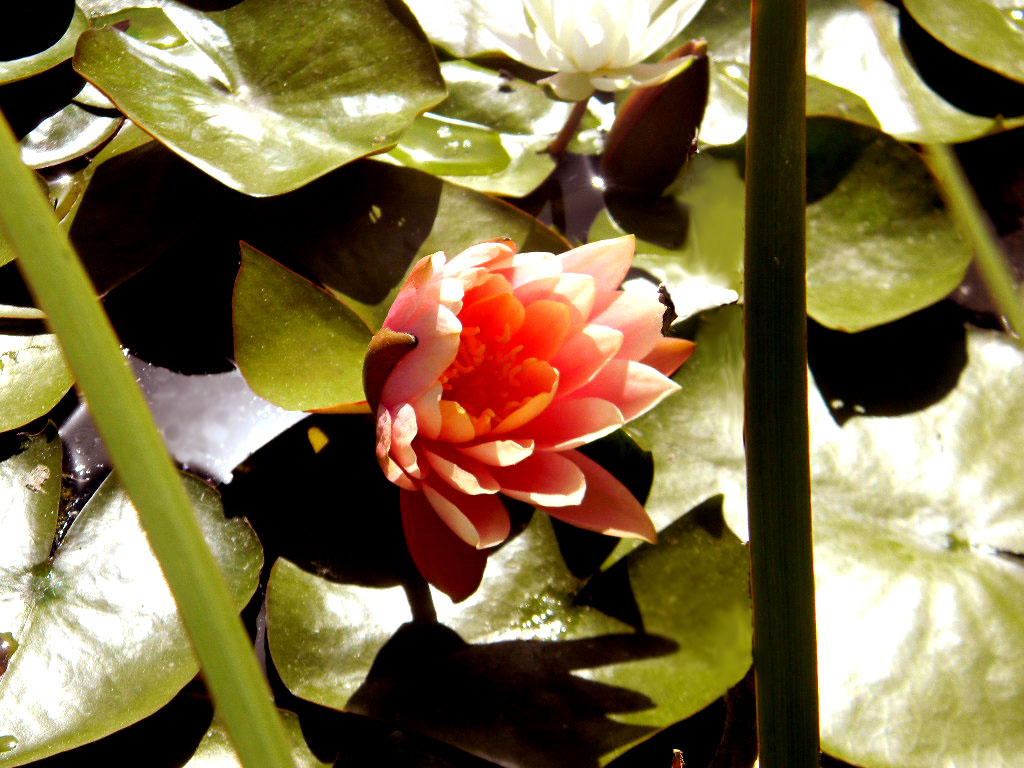
Multi-step:
In this picture I got rid of the dead flower stem. I also lowered the brightness and changed the contrast. |
|

|
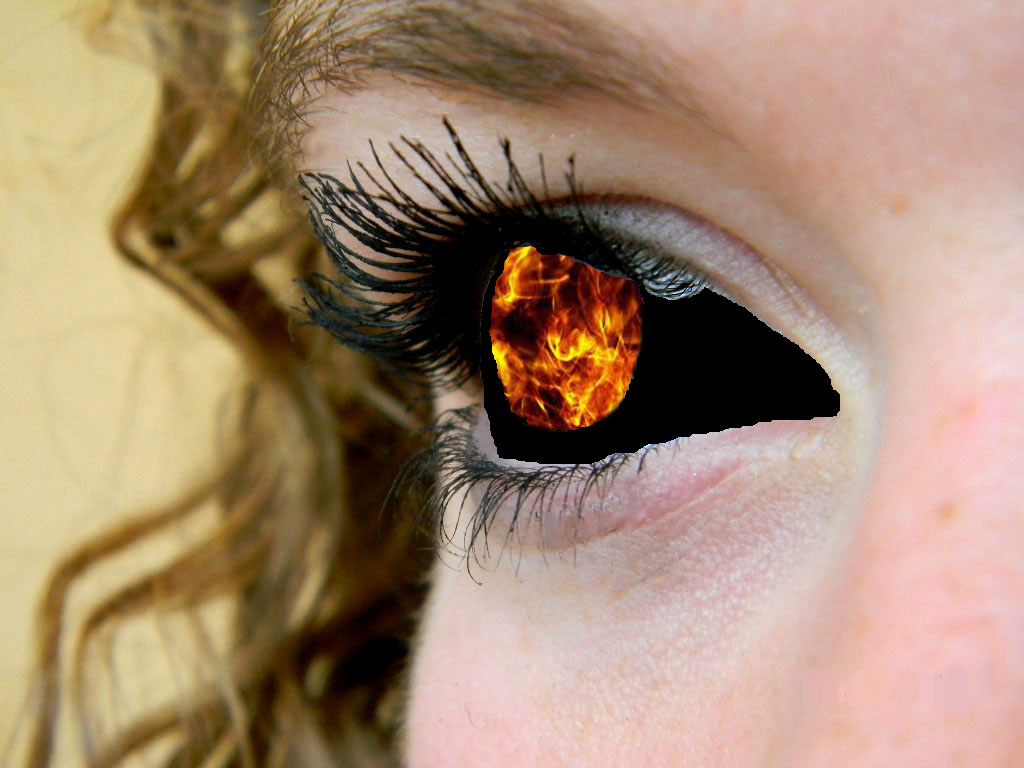
Multi-step:
In this picture I deleted the white layer in the eye and replaced it with a fire layer. I also changed the contrast in the iris. |
|
|
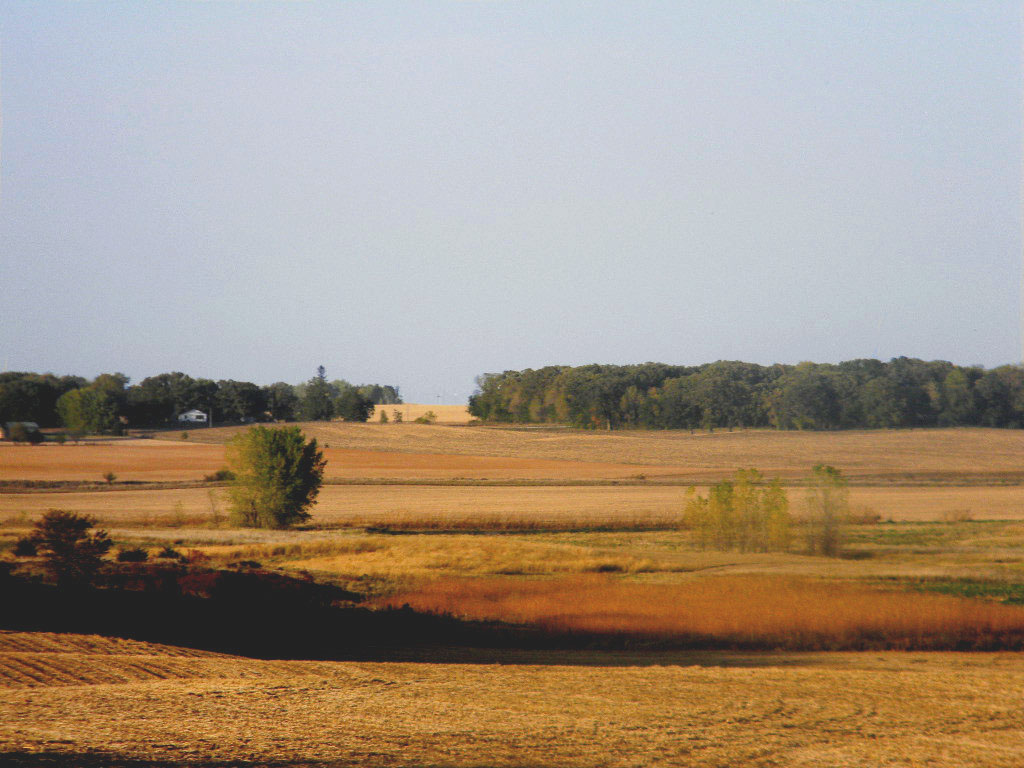
Few step:
In this picture I changed the contrast and cropped the some of the sky out. |
|

|
Few step:
In this picture I highlighted the iris and used a filter to make it have a rough/stone texture. |
|
|
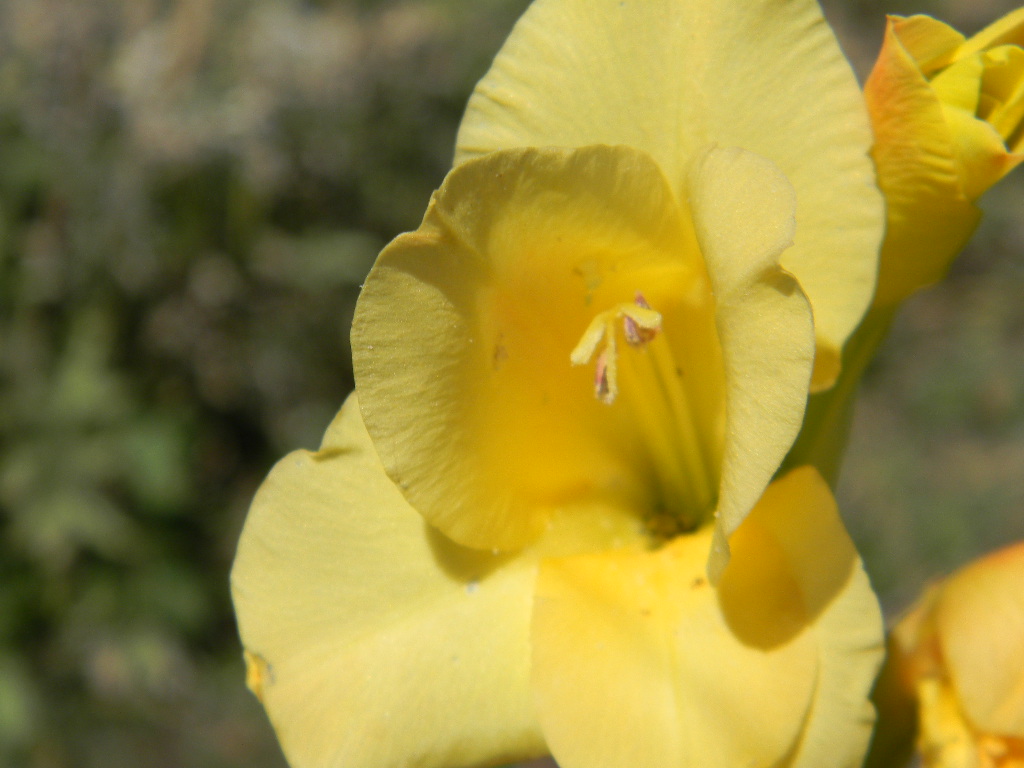
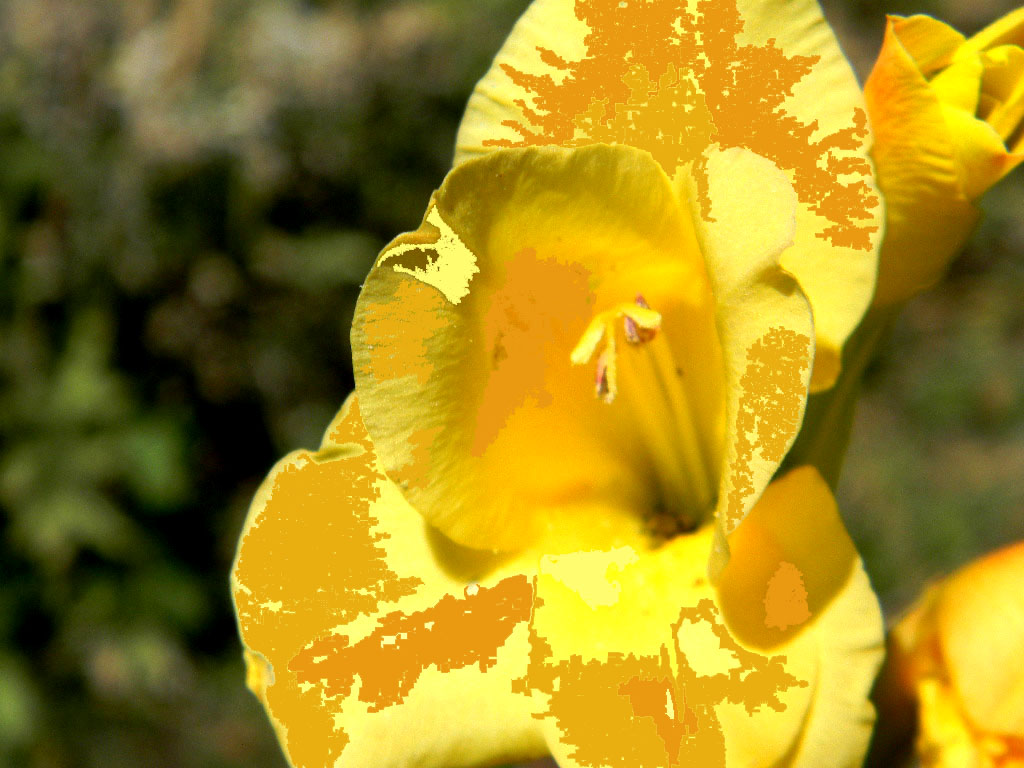
Multi-step:
In this picture I changed the contrast. I also added splashed of different shades of gold and yellow to the flower. |
|

|
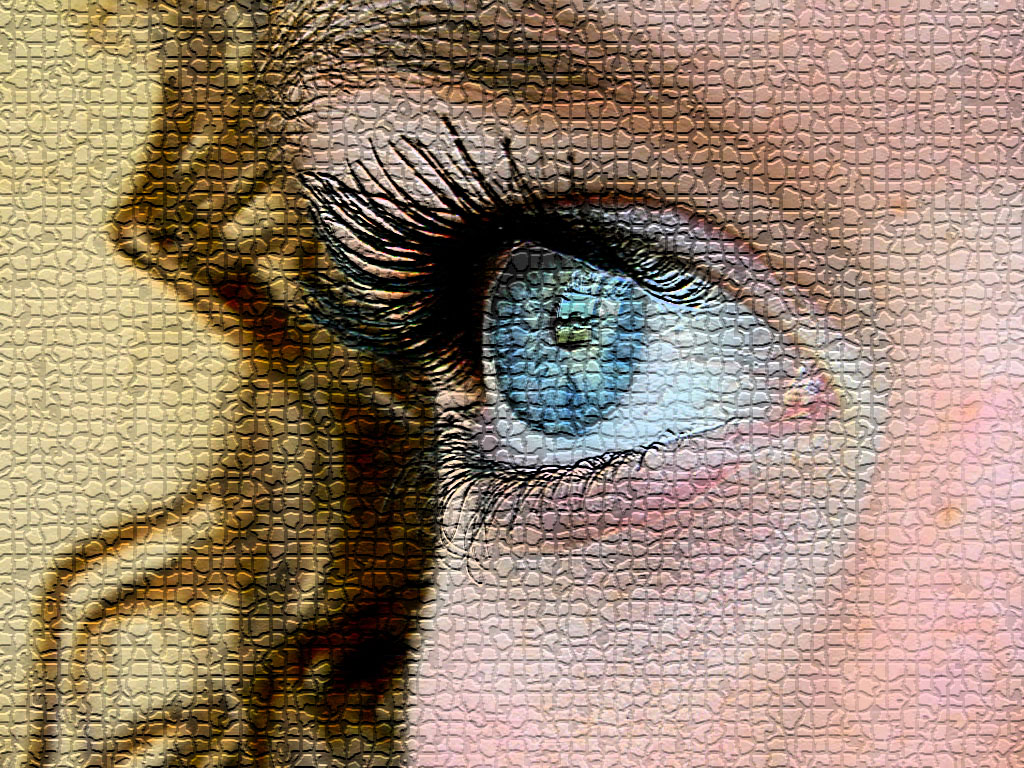
Few step:
In this picture I used a filter on the entire picture to give it a different and unique texture. |
|

|
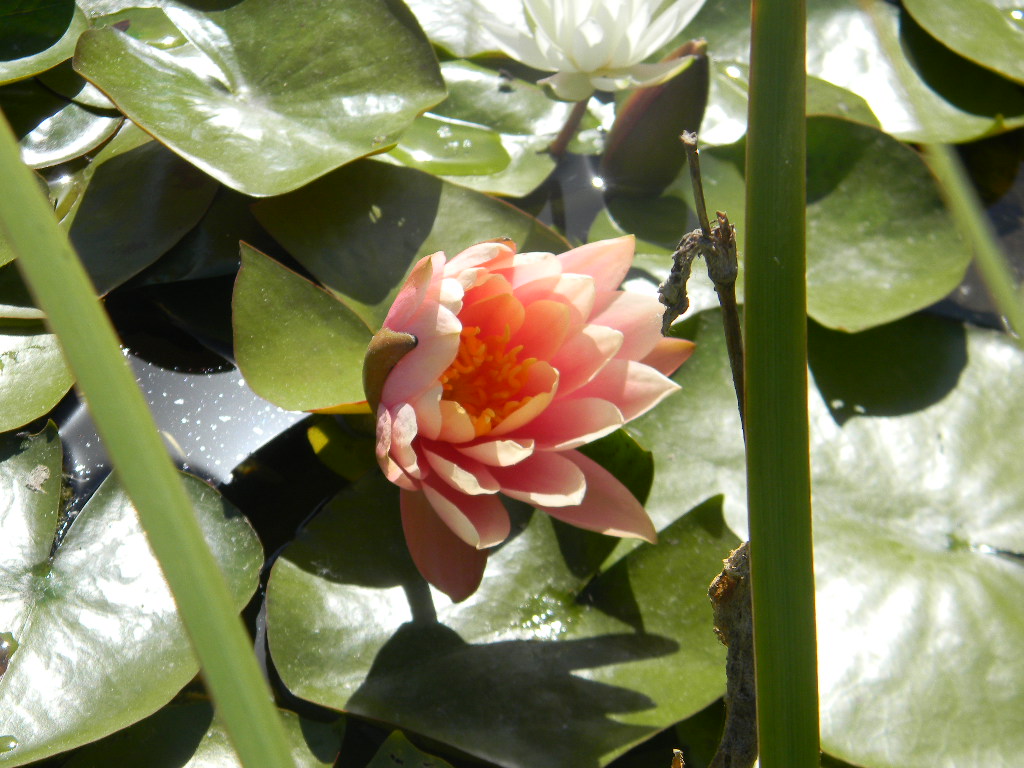
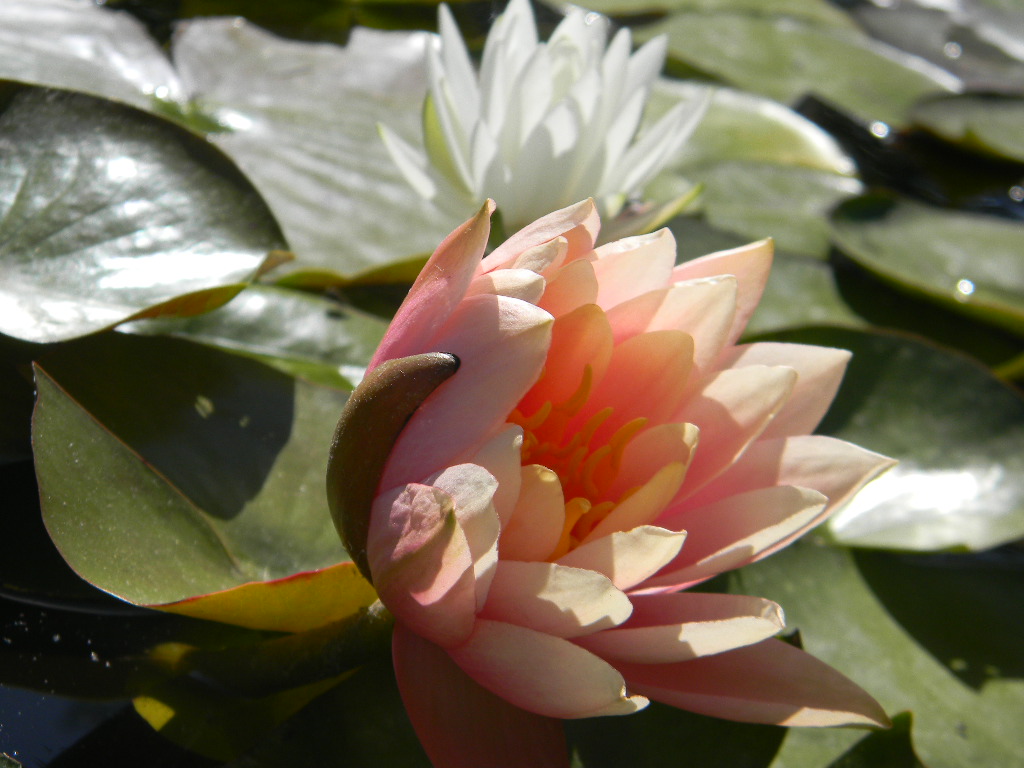
Multi-step:
In this picture I got rid of some of the flowers that were behind the main flower's pedals. I then changed the contrast. |
|

|
Few step:
In this picture I used a filter that gave it a rough texture. |
|
|
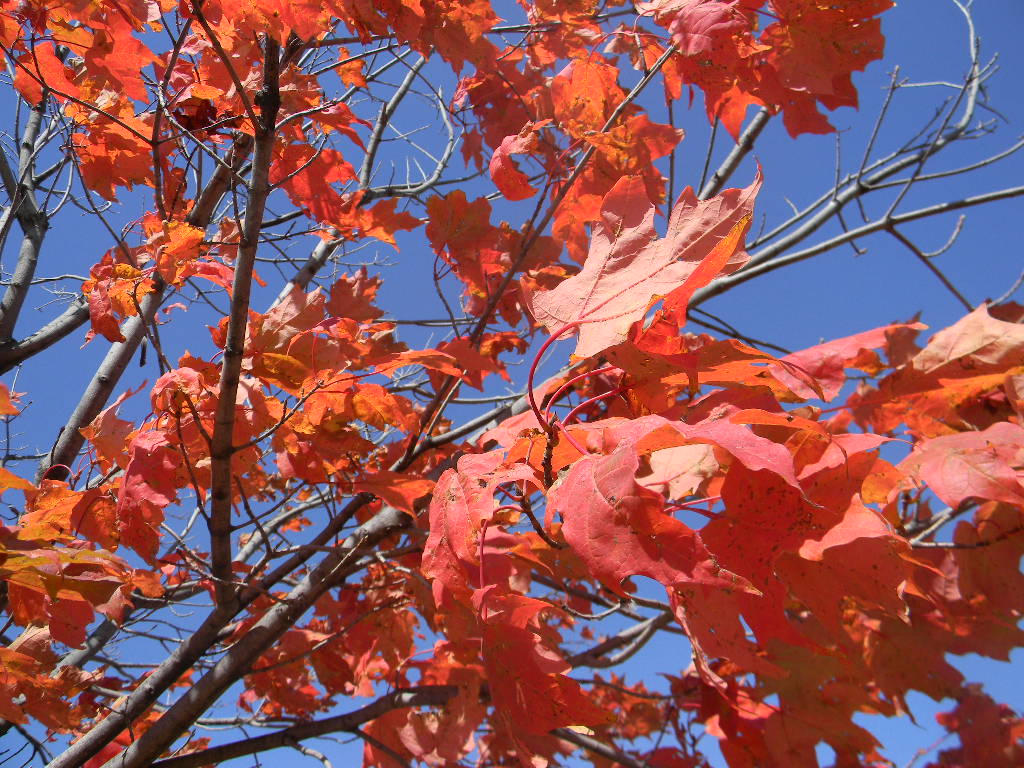
Few step:
In this picture I changed the contrast to make it more bold. |

|
|
Multi-step:
In this picture I got rid of any extra make-up marks and the date. I shaped the eyebrow and made the picture a little crisper. |

|
|
Few step:
In this picture I changed the contrast and the color balance by adding more green. |
|

|
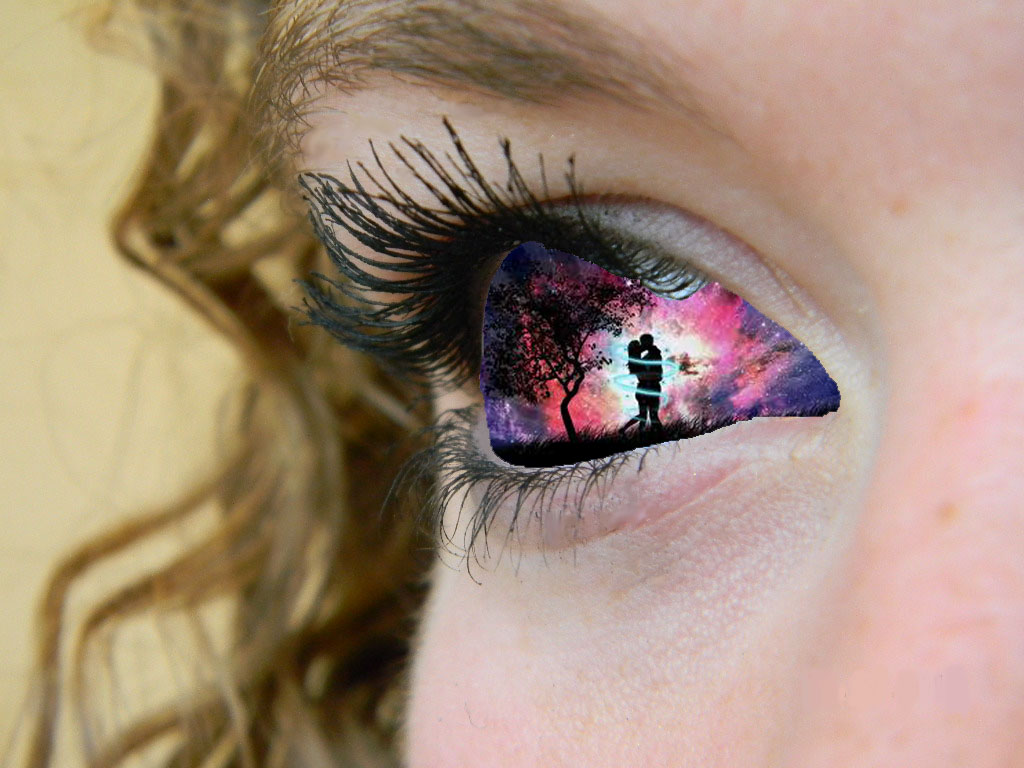
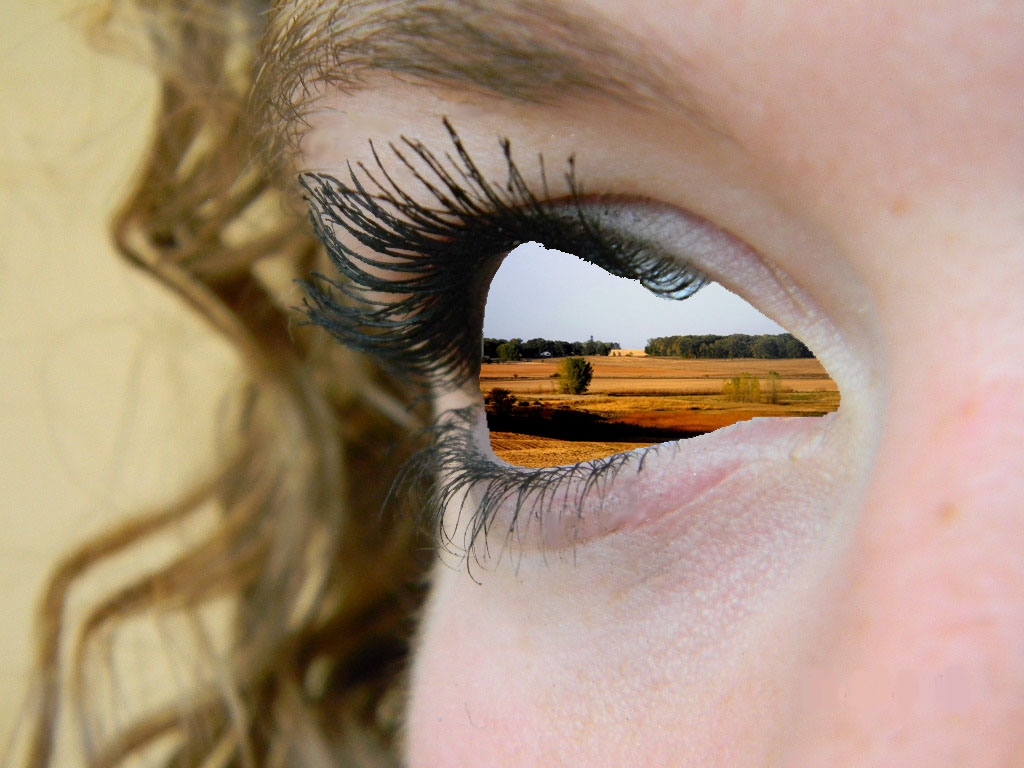
Multi-step:
In this picture I traced the outline of the eye and deleted that layer. I then imported a landscape layer to take its spot. |
|
|
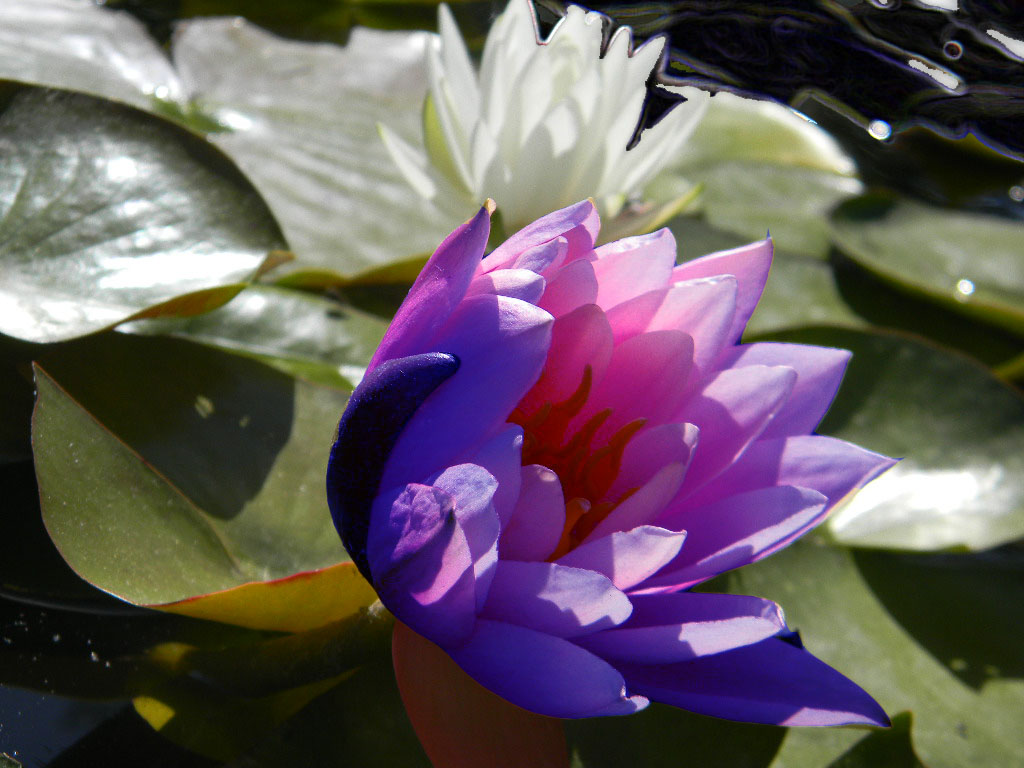
Few step:
In this picture I highlighted the flower and changed the color balance by adding blue. |
|

|
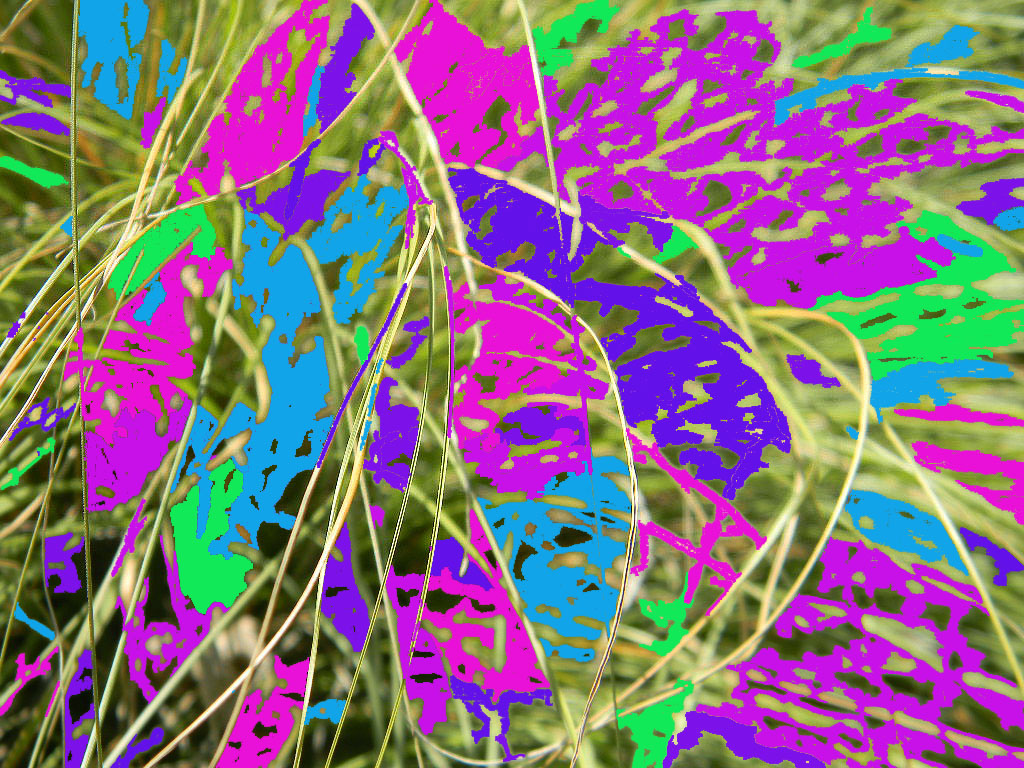
Few step;
In this picture I adding splashes of many different bright colors throughout the picture. |
|

|
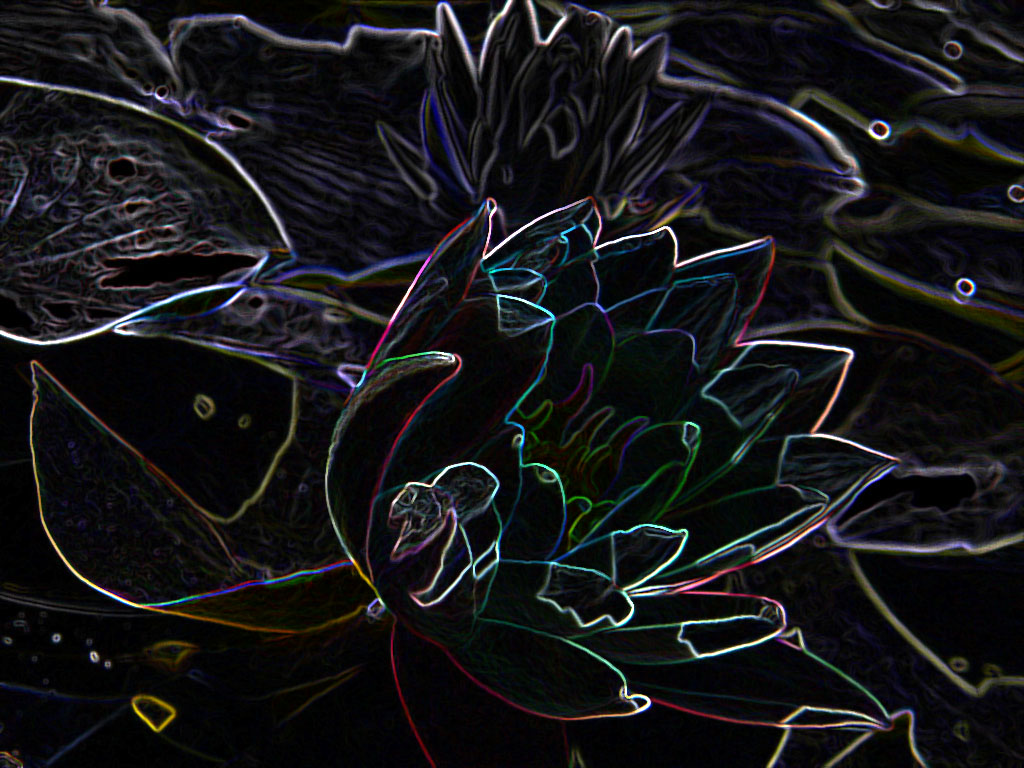
Few step:
In this picture I used a filter to give it a neon highlight/glow on the outlines in the picture. |
|
|
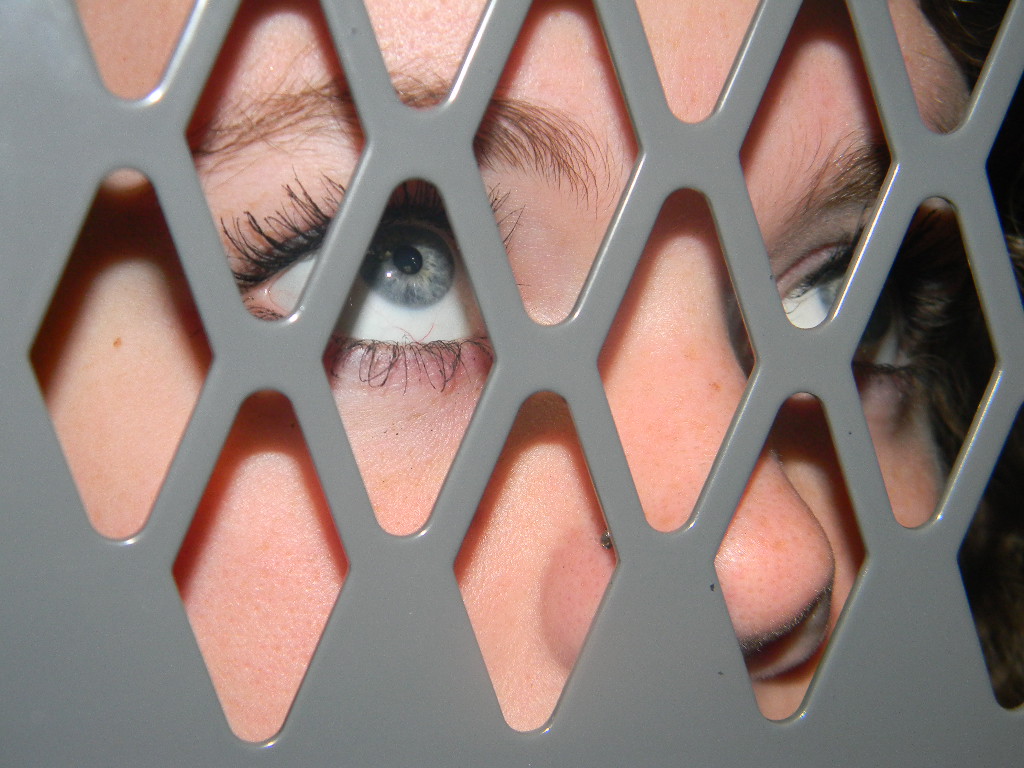
Few step:
In this picture I got rid of any blemishes on the skin and the gray locker. I also shaped the eyebrows a little. |

|

|
Mult-step:
In this picture I highlighted the iris and the rest of the eye separately and deleted them both. I then replaced them with different layers. |
|
